Dip-Dyed My Sneakers!
I’ve been really interested in trying the dip dye process on my sneakers but it was a little difficult to find information on how to get started because some people don’t want to share any information or tips about it.
I want to thank @ddstck for helping out and breaking down the process for me. I think the best way to learn is to research and try doing it yourself. I’m very happy with how they turned out!
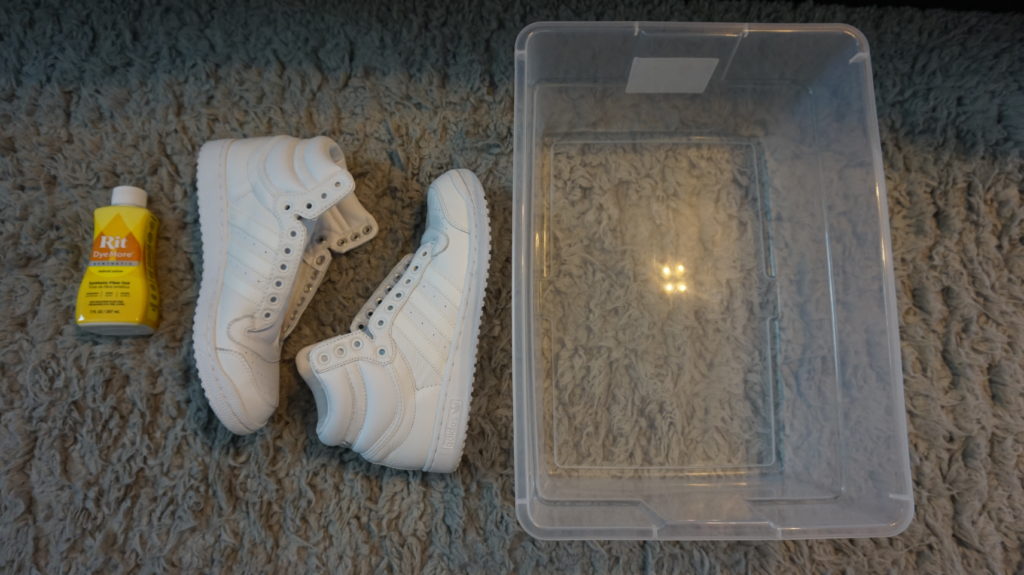
Before you start, you’ll need a few things. The preparation is very simple and most of the stuff is easy to find at an arts and crafts store or a Super Walmart.
You’ll need a plastic container, big enough to fit your sneakers.
I used rit dye synthetic. I’m not sure if there’s a difference between regular rit dye and synthetic rit dye.
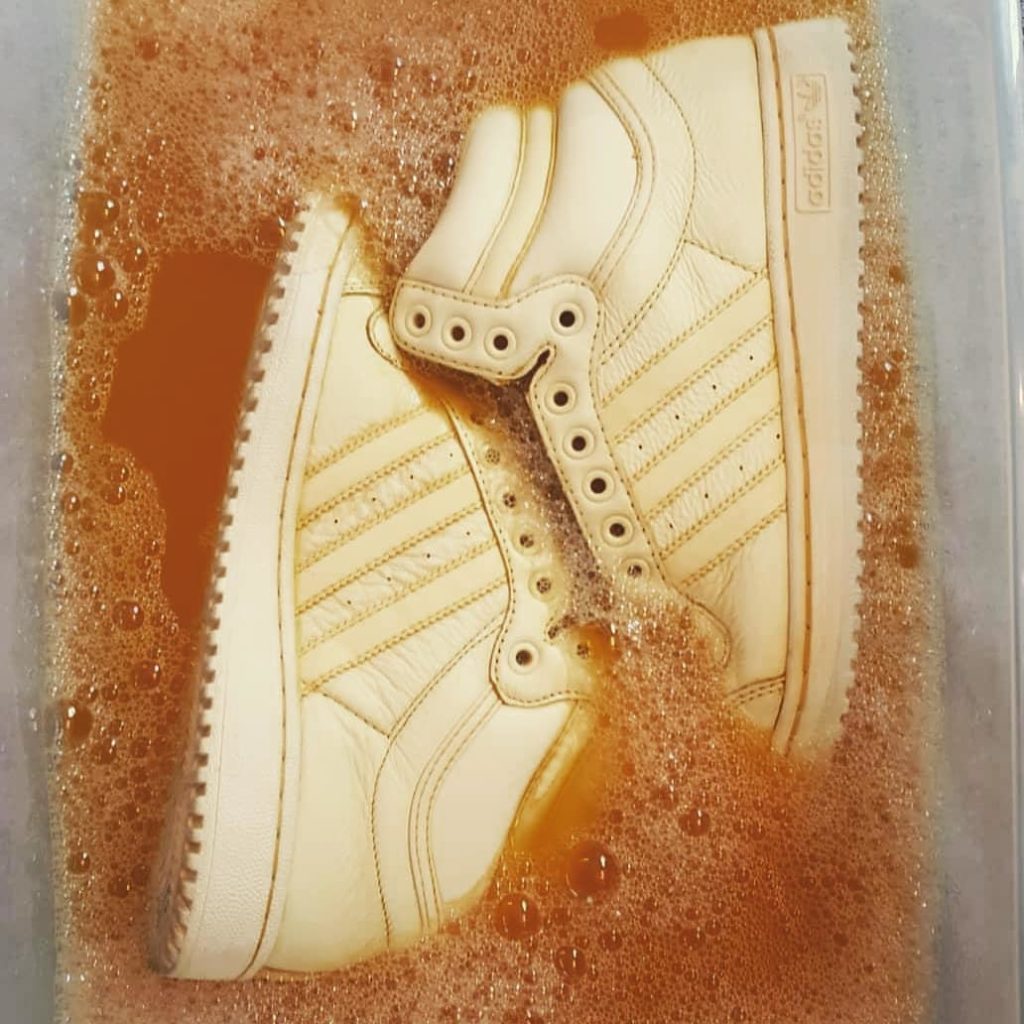
You can clean your shoes using hot water. The longer you leave your shoe in the dye, the brighter the colors will be.
But beware that this could affect the bottom sole of the shoe and cause it to fall off the shoe. If the color isn’t a pigmented as you’d like,
you can always dye them again as opposed to leaving them to soak in the dye for too long the first go around.
Be sure to clean your shoes, especially if they’re a used pair.
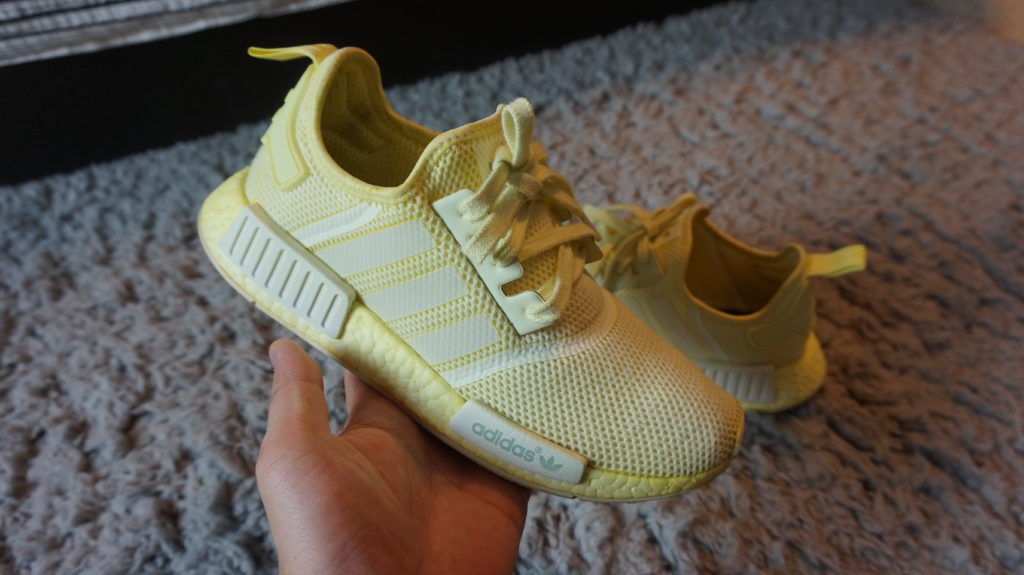
I decided to dip dye some old triple white NMD that had turned yellow so I soaked them in a butter color.
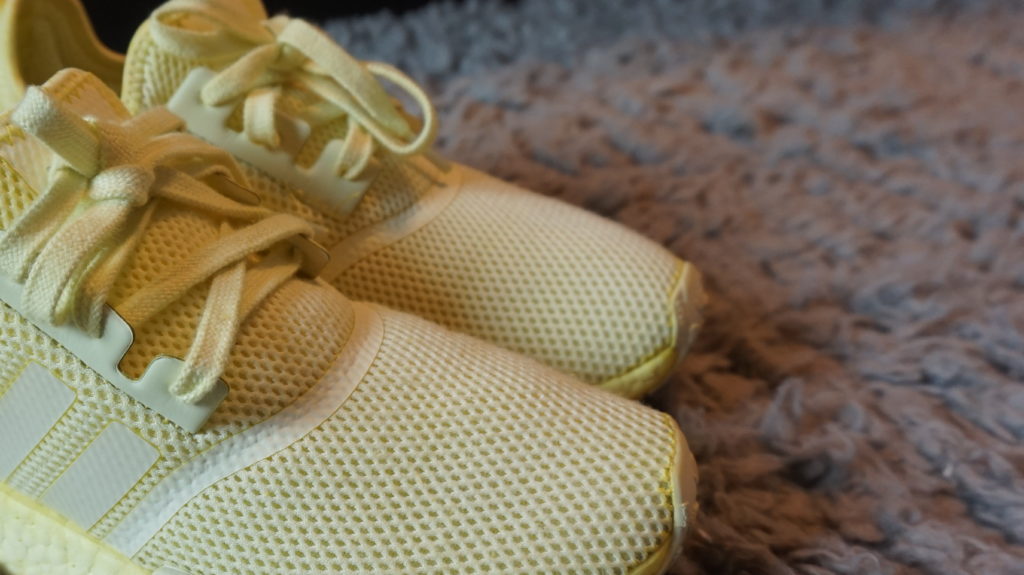
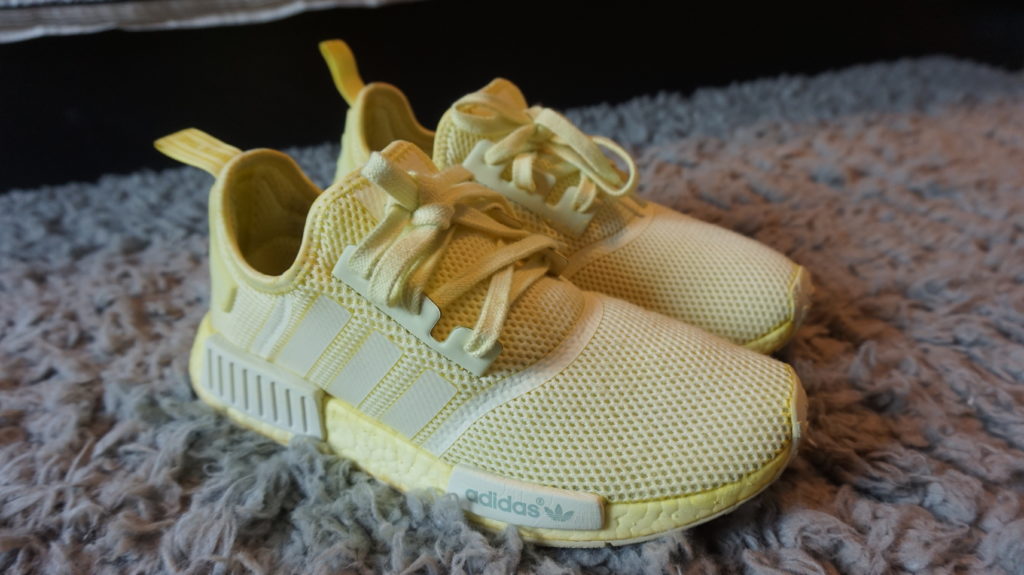
The butter color transferred on to my shoes, and the bottom soles, very well.
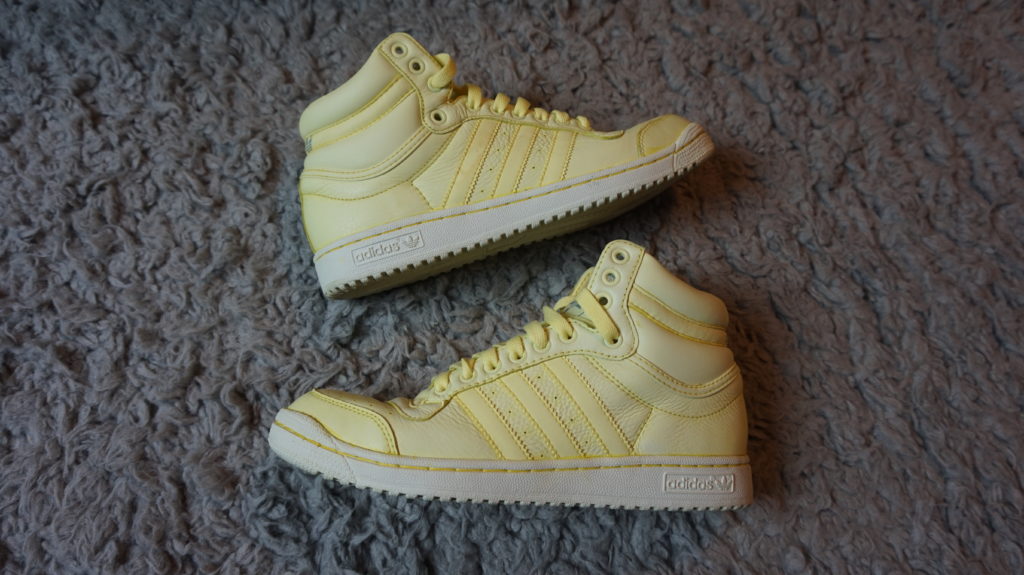
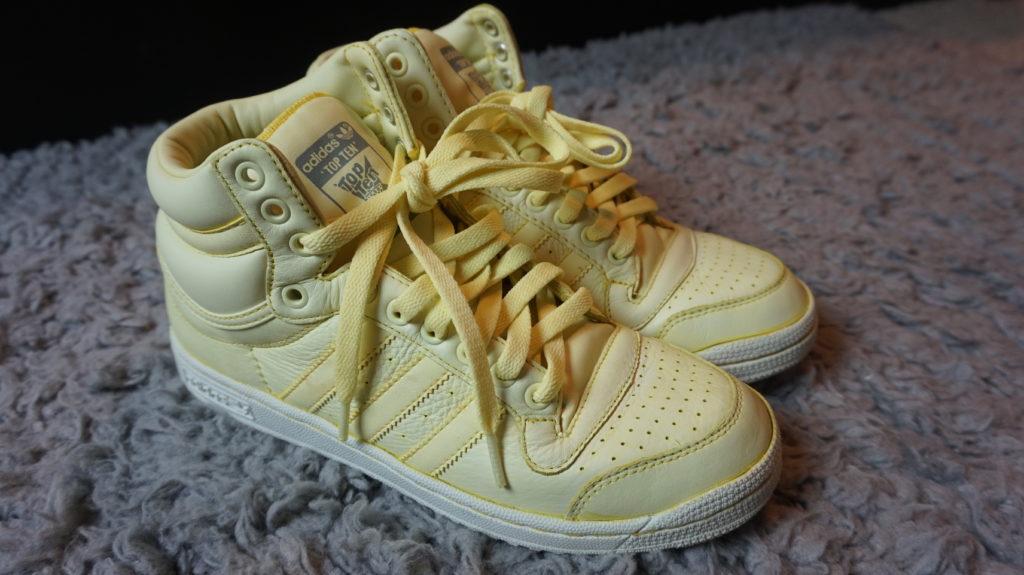
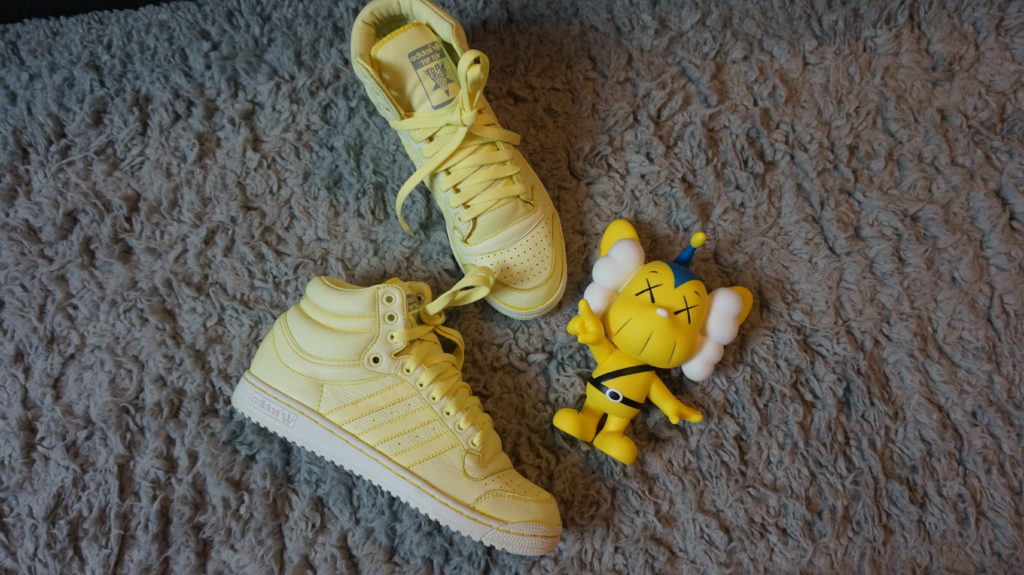
I decided to do a second pair of shoes a went with a pair of my old Adidas sneakers. They came out so cool.
I love how the yellow has a faded, ombré affect. Make sure you dye your shoelaces at the same time you dye your shoes.
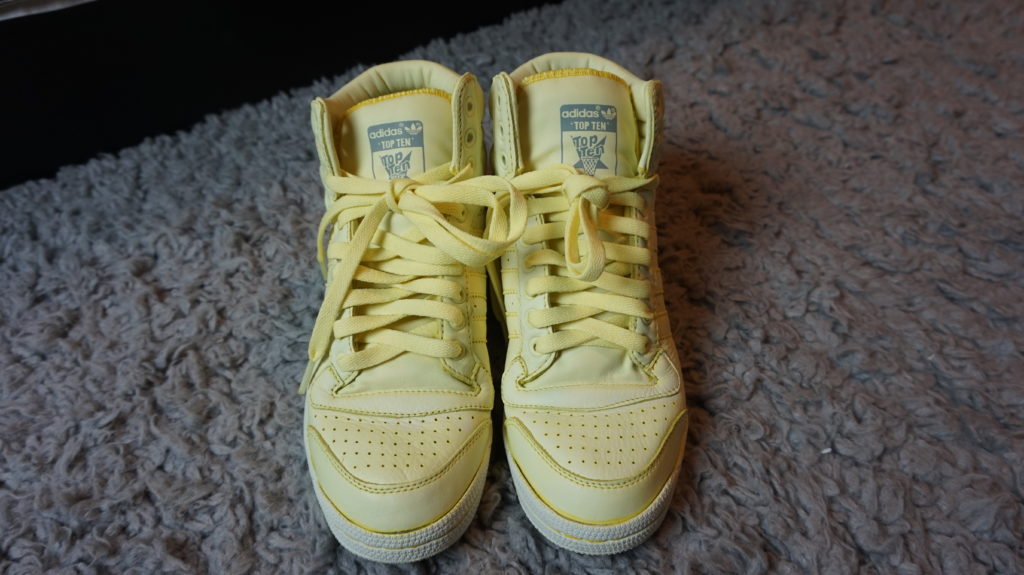
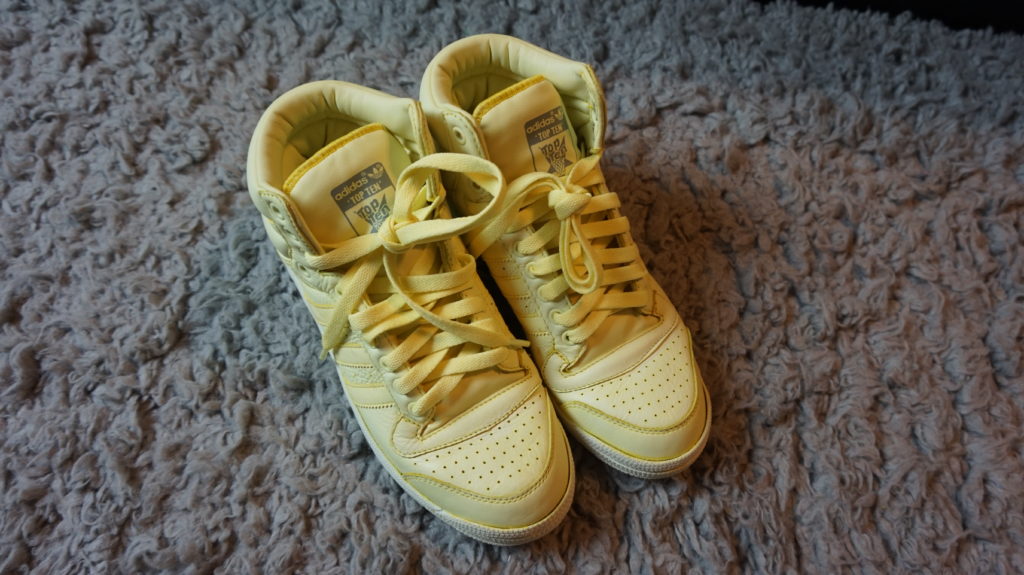
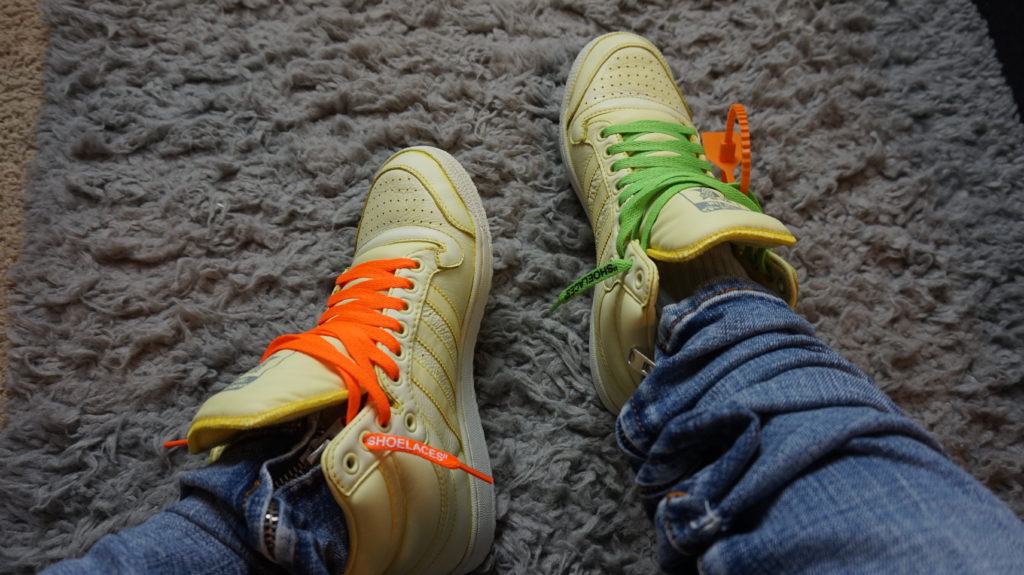
Custom off-white shoelace and tag.
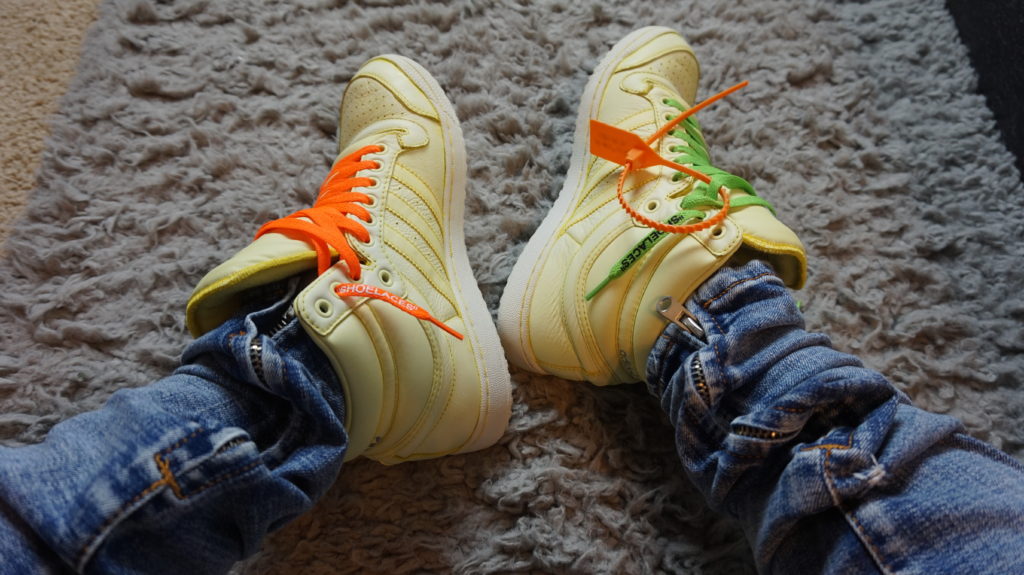
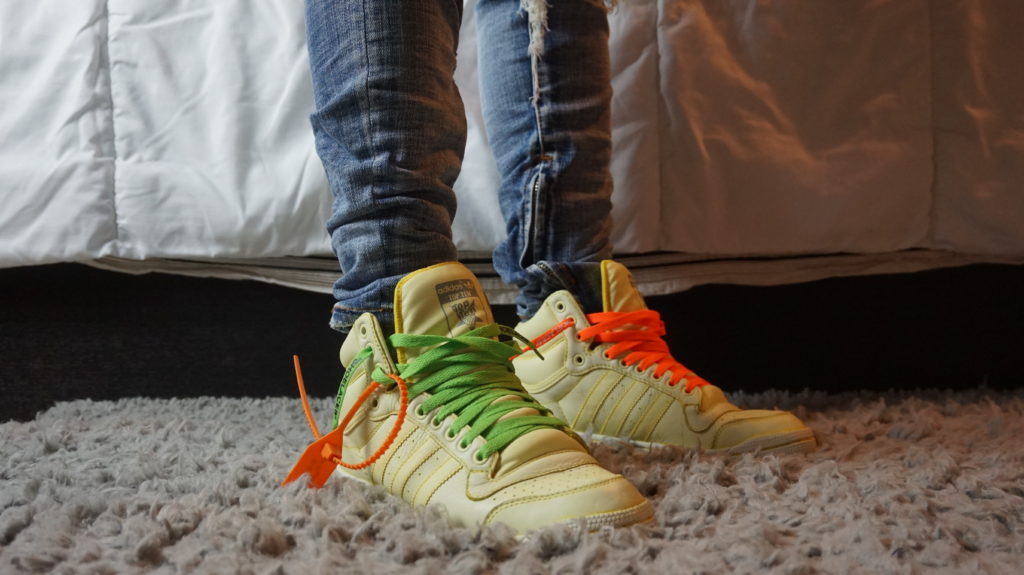
I really loved doing this simple process and giving my old shoes, new life.
Please check out my YouTubevideo for the complete tutorial. https://www.youtube.com/watch?v=9cRJF03Sa3s
Edited by Larnna Thompson



Leave a Comment